Cloud 66 101
How to claim your free $300 credit from Google Cloud
Overview
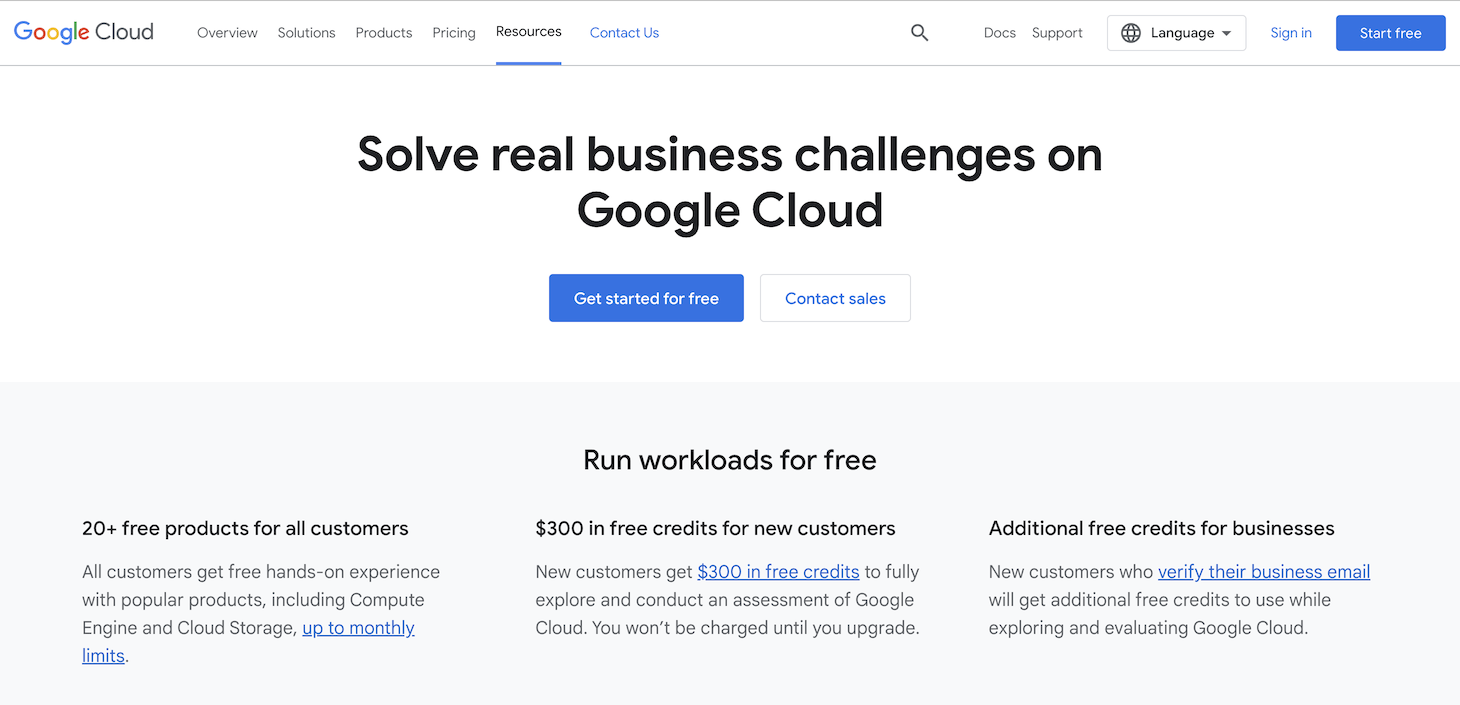
Google Cloud and Cloud 66 are offering new customers $300 in free credit on Google Cloud and up to $1,000 in free credit on Cloud 66.
There is a short process involved in claiming your free credit from Google Cloud. Please follow the instructions below carefully, and please check you are eligible before you begin.
Eligibility
This offer only applies to customer who are:
- New customers of Google Cloud (who are not already in a free trial)
- New Customers of Cloud 66
There are some additional limitations for the Google Cloud offer - please read the full conditions if you would like to know more.
Cloud 66 Credit Tiers
You can use your free Google Cloud credit and other usage discounts with Cloud 66 and benefit from up to $1,000 of Cloud 66 credits (depending on your Google Cloud credit eligibility) by deploying to Google Cloud from Cloud 66.
| Google Cloud Credit | Cloud 66 Credit |
|---|---|
| $300 | $100 |
| $2000 | $500 |
| $100k | $1000 |
Steps to claim your Google Cloud credits
Please follow these carefully and exactly the minimise the effort required.
1; Sign up for a Free Tier account at Google Cloud using this link (Click Get Started for Free)
2; Add payment information (a credit card) - don’t worry you won’t be charged
3; You’ll be taken to the Dashboard or Overview page next. Click on the left-hand menu to open it and choose Billing.
4; In the main section of the Account Overview page look for a box with the heading “No-cost trial credit” (on the right below Billing health checks) - click the Upgrade button at the bottom of that box.

5; Click “Activate” on the modal pop-up that appears (don’t worry, your free credits will be carried over and you will not be charged)
Grant Cloud 66 access to your Google Cloud account
You will now need to configure your Google Cloud account to allow Cloud 66 to access it. We have an existing guide for this, but we have repeated the relevant steps below for ease of reference.
- In your Google Cloud console, click back to your Dashboard page and create a project (if you don’t already have one)
- Switch to your desired project
- Use the search bar at the top of the page to search for “APIs & Services” and click the first result
- Click on the blue button (at the top of the main panel) named + Enable APIs and Services
- Search the API library for “Compute Engine API” and click on the top result
- If the page does not have a green tick with “API enabled” click the blue Enable button (newer accounts tend to have the API already enabled, but it is worth checking)
- Return to the “APIs & Services” dashboard (you can use search as you did in step 4)
- Click on Credentials in the left-hand panel Click on + Create Credentials at the top of the page; Select Service Account
- Give your service account a name (like “cloud66”) and an optional description; Click Create
- Add the role “Compute Admin” and then click Continue (NOTE: this will grant Cloud 66 the rights to create/amend/delete compute resources in this project)
- Leave the User Access options blank and click Done
- On the Service account details page, click the Keys tab
- Click Add Key, choose Create new key and select JSON then click Create.
- Download and save your JSON key somewhere locally (this contains your credentials, so treat it with care)
Once the above is done, we will need three things to connect with your account:
- Email address - this is the email address of the service account you just created (ie. like cloud66@.iam.gserviceaccount.com)
- Project ID - this is your project ID (available at the top of the Overview page)
- JSON key - the file that you downloaded and saved above
Next, deploy your app with Cloud 66
You’re now ready to deploy your application with Cloud 66. To do this, follow our getting started guide and you’ll be up and running in under 5 mins.
Finally, claim your Cloud 66 credits
Once you have deployed your application, email us at marketing@cloud66.com to claim your $100 in free Cloud 66 credits and we will apply them to your account.