Using Preview Deployments
Overview
Preview Deployments are automatically generated deployments of newer versions of your application code that run alongside your active application. They are designed to allow you to quickly test changes to your application code without having to deploy to a separate environment.
Preview Deployments are triggered by changes in the git repository of your application - this means that simply pulling new code into your repo can automatically update your Preview (depending on your settings).
Previews run on separate, unique subdomains and they are only visible via those URLs.
Applications created on Cloud 66 before June 2024 may need to be updated before they can use this functionality. See below for more details.
Preview Deployments only apply to your applications web components - they use the same database(s), and the same environment variables, components and manifest settings as the base application. They are not a truly separate instance of your application and should not be treated as such.
Types of Preview Deployments
We support three kinds of (mutually exclusive) Preview Deployments:
- Branches - creates new Preview Deployments based on git branch names
- Tags - creates new Preview Deployments based on git tag names
- Pull Requests - creates & removes Preview Deployments based on git pull requests
Both branches and tags can be matched using the glob format - so, for example, if you specify feature* as your branch name, we will create a Preview for any branch with the word "feature" in it.
Enabling and disabling Preview Deployments
By default Preview Deployments are disabled. You can enable Preview Deployments via you Cloud 66 Dashboard:
- Log in and click on your application
- Click on Application in the left nav
- Click on the + Set Up Previews button below the main Services panel
- Select the method of Preview Deployment you prefer
- If you select Branches of Tags, you will need to specify at least one name (or glob) to match. You can also specify a branch name for Pull Requests but this is optional.
- Click Save
Once you have enabled Previews for your application, you will need to enable previews with your git provider to complete the setup.
Disabling Previews
To disable Previews, follow the same process but select No Preview Deployments instead. Note that this will not remove any Previews currently deployed on your servers. To delete Previews, see our guide below.
Triggering Preview Deployments via your git provider
If you have connected your GitHub account to your Cloud 66 account, we will automatically trigger Preview deploys based on your Preview settings.
For other git providers, you need to add a webhook URL to your account or repo. You can find the redeployment webhook URL on the Deployments settings page (under ⚙️ Settings → Deployments). Copy the URL and then use it to set up the automation with your git provider.
Monitoring Preview Deployments
Whenever a Preview Deployment is underway, it will appear in the Deployments timeline. You can click on the link to see logs of the deployment process.
Browsing and managing Previews
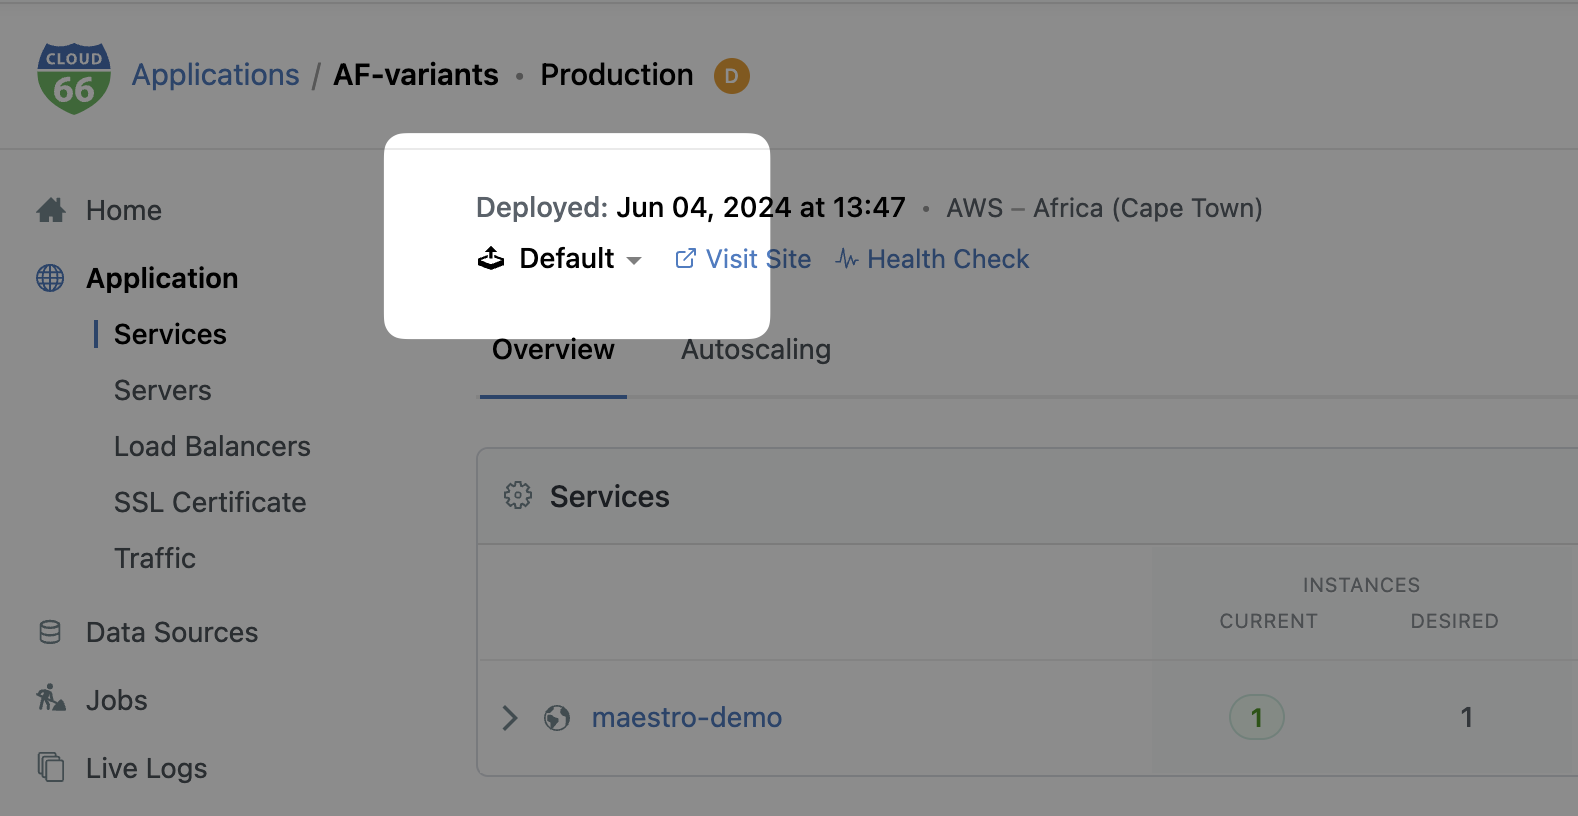
To see all active Previews open your Dashboard and click the switch just below the latest deployment date (above the main panel). This switch won’t appear unless you have active Previews.
This will open a list of all the Previews currently running. To browse a Preview:
- Click the name of the branch
- Click the Visit Preview link. This will open the unique subdomain on which your Preview is hosted.
You can use this URL to share the Preview with people outside of your team, but it should not be made public or used in any DNS settings.
Deleting Previews
To delete old or unwanted Previews, switch to that Preview and click on the trash can icon in the top panel to delete it. Remember that if you push code to the same branch again, you will also spawn the Preview again, unless you update the app’s Preview settings.
While we do not limit the number of Previews an app can have, we strongly recommend against having more than a few at any time. By their nature, Previews require resources to run (RAM, CPU cycles etc.) and thus reduce the capacity of your application to serve your visitors.
Deleting Previews using Cloud 66 Toolbelt
You can also list and delete unwanted Previews using the Cloud 66 Toolbelt (cx) to do this use the following commands:
Preparing existing applications for Previews
Applications created on Cloud 66 before June 2024 may need to be prepared before they are able to use Previews - particularly if those applications have custom Nginx configuration files.
Before using Previews with your existing application, you should:
- Check that there are no Application Updates that need to be applied
- If you have made modifications to the Nginx config for your application, follow the steps below.
Migrating your customized Nginx file
Supporting Previews requires an upgrade of Nginx as well as a new Nginx configuration. If you have made changes to your Nginx configuration, you can follow these steps to ensure your changes are not lost when the Application Updates run.
- Copy your customized Nginx file to a local file for backup and reference
- Reset the your configs to default using the button on the page, but don’t apply them
- Add your changes manually to the new file
- Commit the new file